
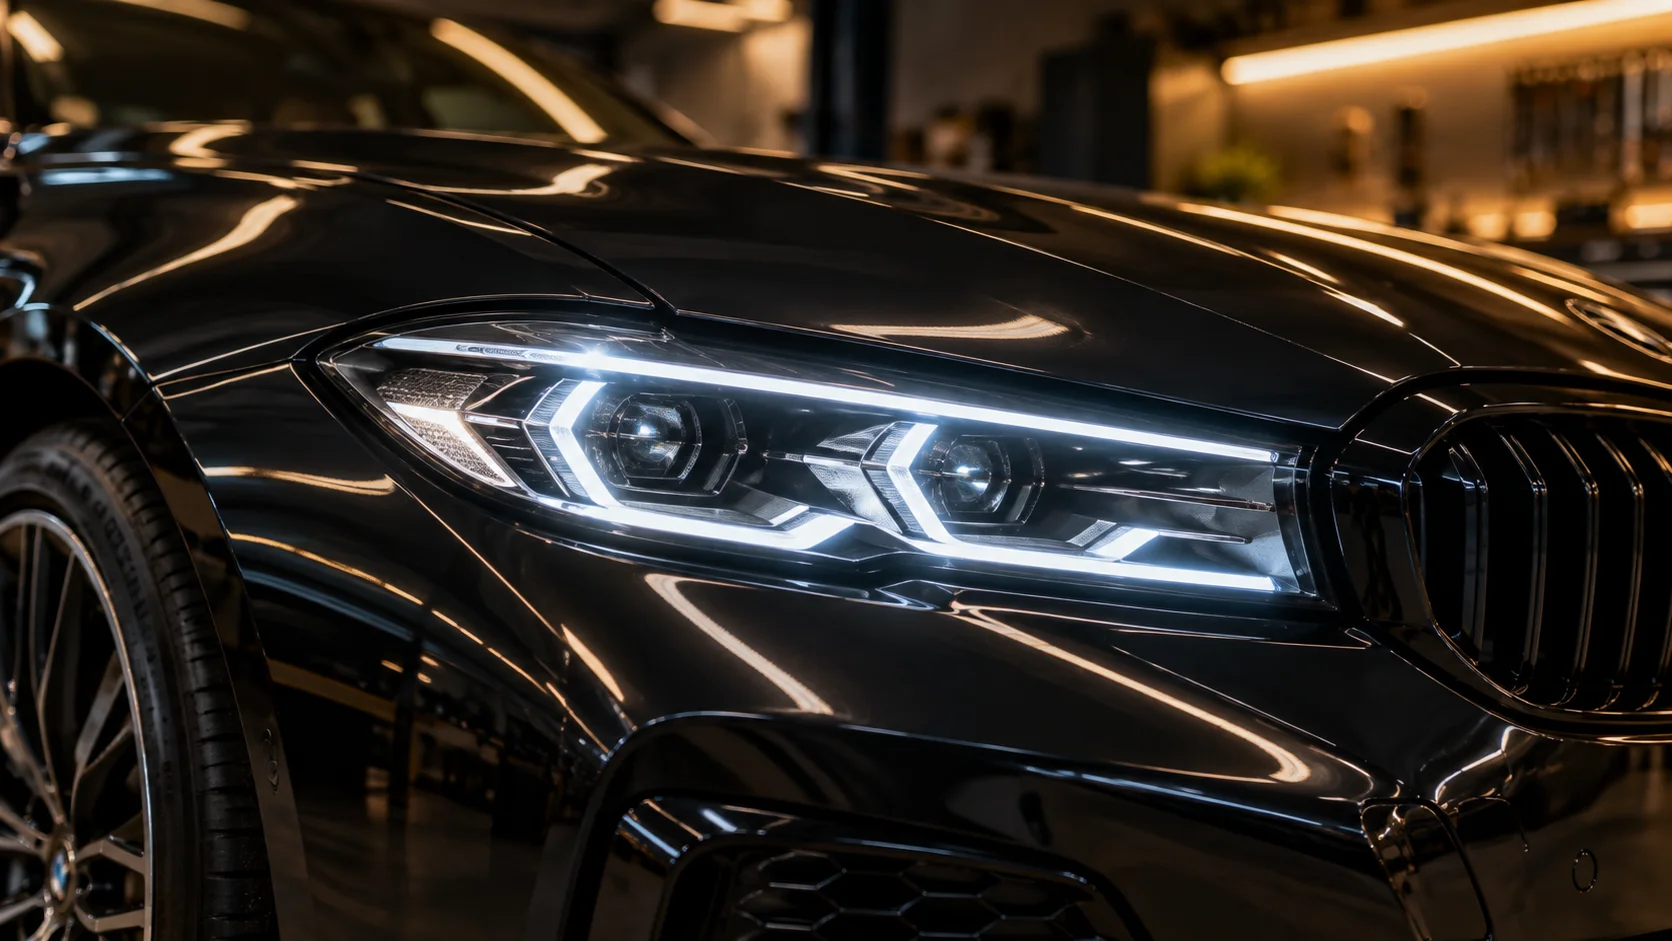
Good headlights do more than make the road brighter. They determine how clearly you can see lane markings, potholes, pedestrians and changing road conditions without throwing uncontrolled glare towards other drivers.
That is why drivers looking beyond a basic bulb replacement often consider projector lights for cars. Instead of relying on a reflector to spread light broadly, projector systems are designed to concentrate and control the beam more precisely.
A multi-projector setup takes that idea further. But before upgrading, it helps to understand what a three-lens configuration actually does, how it performs in real driving conditions and what a proper installation involves.
What Is a 3-Lens Projector Setup?
A 3 lens setup uses three individual projector modules within the lighting arrangement rather than relying on one conventional light source.
Depending on the particular product and vehicle application, the individual projectors may be configured to support different beam functions or work together to increase usable illumination. The exact design varies between manufacturers, which means three visible lenses do not automatically guarantee better performance.
What matters is how those projectors control and distribute the light.
When considering a multi-lens system, look beyond the number of lenses and check:
- Beam pattern
- Low- and high-beam performance
- Light spread
- Throw distance
- Colour temperature
- Power requirements
- Thermal management
- Compatibility with the headlamp housing
A properly engineered setup should provide useful road illumination rather than simply producing more brightness.
How Do Projector Lights Work?
Traditional reflector headlights use a reflective bowl to direct light from the bulb towards the road. Projector systems add a dedicated lens and internal optics that control that light more precisely.
The light source sits inside the projector housing. Its output is directed through the optical system and then through the front lens, creating a more concentrated beam.
One of the main advantages is the ability to create a defined cutoff. This keeps more of the usable light directed towards the road rather than allowing it to scatter upwards.
Modern projector headlights for cars may use LED, HID or other lighting technologies depending on the system. LED projector modules are increasingly common because they can combine compact dimensions, strong output and efficient operation when properly designed.
If you want a closer look at how a focused LED setup can change beam throw, Car Decor’s guide to how Aozoom LED projectors improve light throw and visibility explains the role of lens design and beam control in more detail.
Key Benefits of Projector Headlights
A projector upgrade should improve how effectively the available light reaches the road, not simply make the headlamp appear brighter.
More Controlled Beam Pattern
One of the biggest benefits of a projector is beam control. A defined cutoff can keep the brightest part of the beam below the eye level of oncoming motorists when the lamps are correctly installed and aimed.
This is particularly important with high-output lighting. More power without proper control can create glare while doing surprisingly little to improve usable visibility.
Better Road Coverage
A well-designed setup can provide a broader and more consistent spread across the lane and road shoulders.
That can make it easier to notice:
- potholes
- lane markings
- pedestrians
- cyclists
- road edges
- unexpected obstacles
Improved High-Beam Performance
Depending on the projector design, switching to high beam can provide additional forward throw for darker highway stretches.
This is where a carefully selected multi-lens system can be useful for drivers who regularly move between city roads and less illuminated highways.
Cleaner Headlight Appearance
Beyond function, projector modules can give the headlamp a more modern and structured appearance. The upgrade should still suit the original housing and vehicle design rather than looking unnecessarily modified.
Real-World Performance: What Actually Matters?
The performance of projector lights becomes most noticeable when conditions are difficult.
On a dark highway, beam distance matters because it determines how early you can identify something ahead. Within the city, beam width and cutoff control may matter more because there are more vehicles, pedestrians and reflective surfaces around you.
Rain introduces another challenge. Road surfaces become reflective, while water droplets can increase glare. Simply adding more brightness does not always improve what the driver can see.
This is why beam shape, alignment and colour temperature matter alongside raw output.
Drivers who frequently face heavy rain or fog may also benefit from considering dedicated lower-mounted lighting rather than expecting the main headlights to handle every condition. Car Decor’s 2026 guide to projector fog lamps explains how fog-light beam placement differs from the main headlamp setup.
A good lighting system should make the road easier to read, not turn every reflective sign and wet surface into another source of glare.
What Does the Installation Process Involve?
The installation process is one of the most important parts of a projector upgrade.
Unlike replacing a simple bulb, fitting projector modules may involve opening the headlamp assembly, positioning the projectors correctly and ensuring the housing is sealed again after the work is complete.
Depending on the vehicle and lighting kit, installation can involve:
- Removing the existing headlamp assembly.
- Opening the headlamp housing where required.
- Checking available space and mounting points.
- Positioning and securing the projector modules.
- Connecting the required wiring or drivers.
- Testing low- and high-beam functions.
- Resealing the headlamp properly.
- Reinstalling the assembly.
- Aiming and aligning the beam.
The exact steps depend on the vehicle and product.
Beam alignment deserves particular attention. Even a high-quality projector can perform poorly if it is angled incorrectly. A beam aimed too high may create glare, while one aimed too low can unnecessarily reduce forward visibility.
Moisture sealing is equally important after opening a headlamp. Poor resealing can allow condensation or water into the assembly.
For drivers comparing different lighting technologies before deciding on a setup, Car Decor’s guide to Hella headlights, fog lamps and auxiliary lighting provides a useful overview of how different lighting types serve different purposes.
Check Compatibility and Safety Before Installation
Not every projector system will fit every car.
Headlamp housings differ in shape, depth, internal mounting space and electrical architecture. A projector that fits easily inside one vehicle may require substantial modification in another.
Before buying, confirm:
- Headlamp housing dimensions
- Projector dimensions
- Required mounting hardware
- Electrical requirements
- Vehicle wiring compatibility
- Low- and high-beam operation
- Space for drivers or cooling components
- Headlamp sealing requirements
Also check whether the modification affects other vehicle systems. Some newer cars monitor lighting circuits electronically, so incompatible aftermarket hardware may trigger dashboard errors or create other electrical issues.
Safety should remain central to the upgrade. Lighting should be aimed correctly, should not create excessive glare and should comply with applicable road-use requirements for your vehicle and location.
Professional installation becomes particularly important when the headlamp housing needs to be opened or electrical changes are involved.
Buying Checklist for a 3-Lens Setup
Before selecting a 3 lens projector system, use this quick checklist:
- Confirm that the setup is compatible with your vehicle.
- Check whether the system supports the beam functions you need.
- Compare beam pattern, not just advertised brightness.
- Look for a clear and controlled cutoff.
- Consider both beam width and forward throw.
- Check colour temperature for comfortable night driving.
- Confirm thermal management and cooling requirements.
- Check the electrical load and required wiring.
- Ask whether the original headlamp housing needs modification.
- Confirm how the assembly will be resealed after installation.
- Make sure beam alignment is included after fitting.
- Consider warranty and after-sales support.
- Choose the setup based on your driving conditions rather than appearance alone.
If most of your driving happens inside the city, a controlled low beam may matter more than extreme throw. If you regularly drive on poorly lit highways, stronger high-beam performance may carry greater value.
The best choice is the one that addresses where and how you actually drive.
Better Lighting Starts With Better Control
The purpose of upgrading projector lights for cars is not to create the brightest headlamp possible. It is to put usable light where the driver needs it while keeping the beam controlled for everyone else on the road.
A three-projector setup can provide a meaningful upgrade when the optics, fitment, wiring and alignment are all suited to the vehicle. But the number of lenses should never replace the fundamentals of good lighting design.
Before buying, compare beam performance, vehicle compatibility and installation requirements carefully. Once the right setup is selected, correct fitting and alignment can make just as much difference as the projector itself.
For guidance on choosing compatible projector headlights and professional installation for your vehicle, visit Car Decor. The team can help you compare lighting options and select a setup suited to your car and regular driving conditions.